Integrating SOCRadar MCP Server
Integrating SOCRadar MCP Server
Before you can start using SOCRadar’s capabilities, you need to connect the MCP Server to your assistant platform. This one-time integration allows secure, real-time access to SOCRadar’s modules, including threat intelligence, vulnerability insights, and more. The process takes just a few steps.
Step 1: Add SOCRadar as a Custom Integration
Navigate to your assistant’s Settings > Integrations page.
Click “+ Add integration” to register a new custom integration.
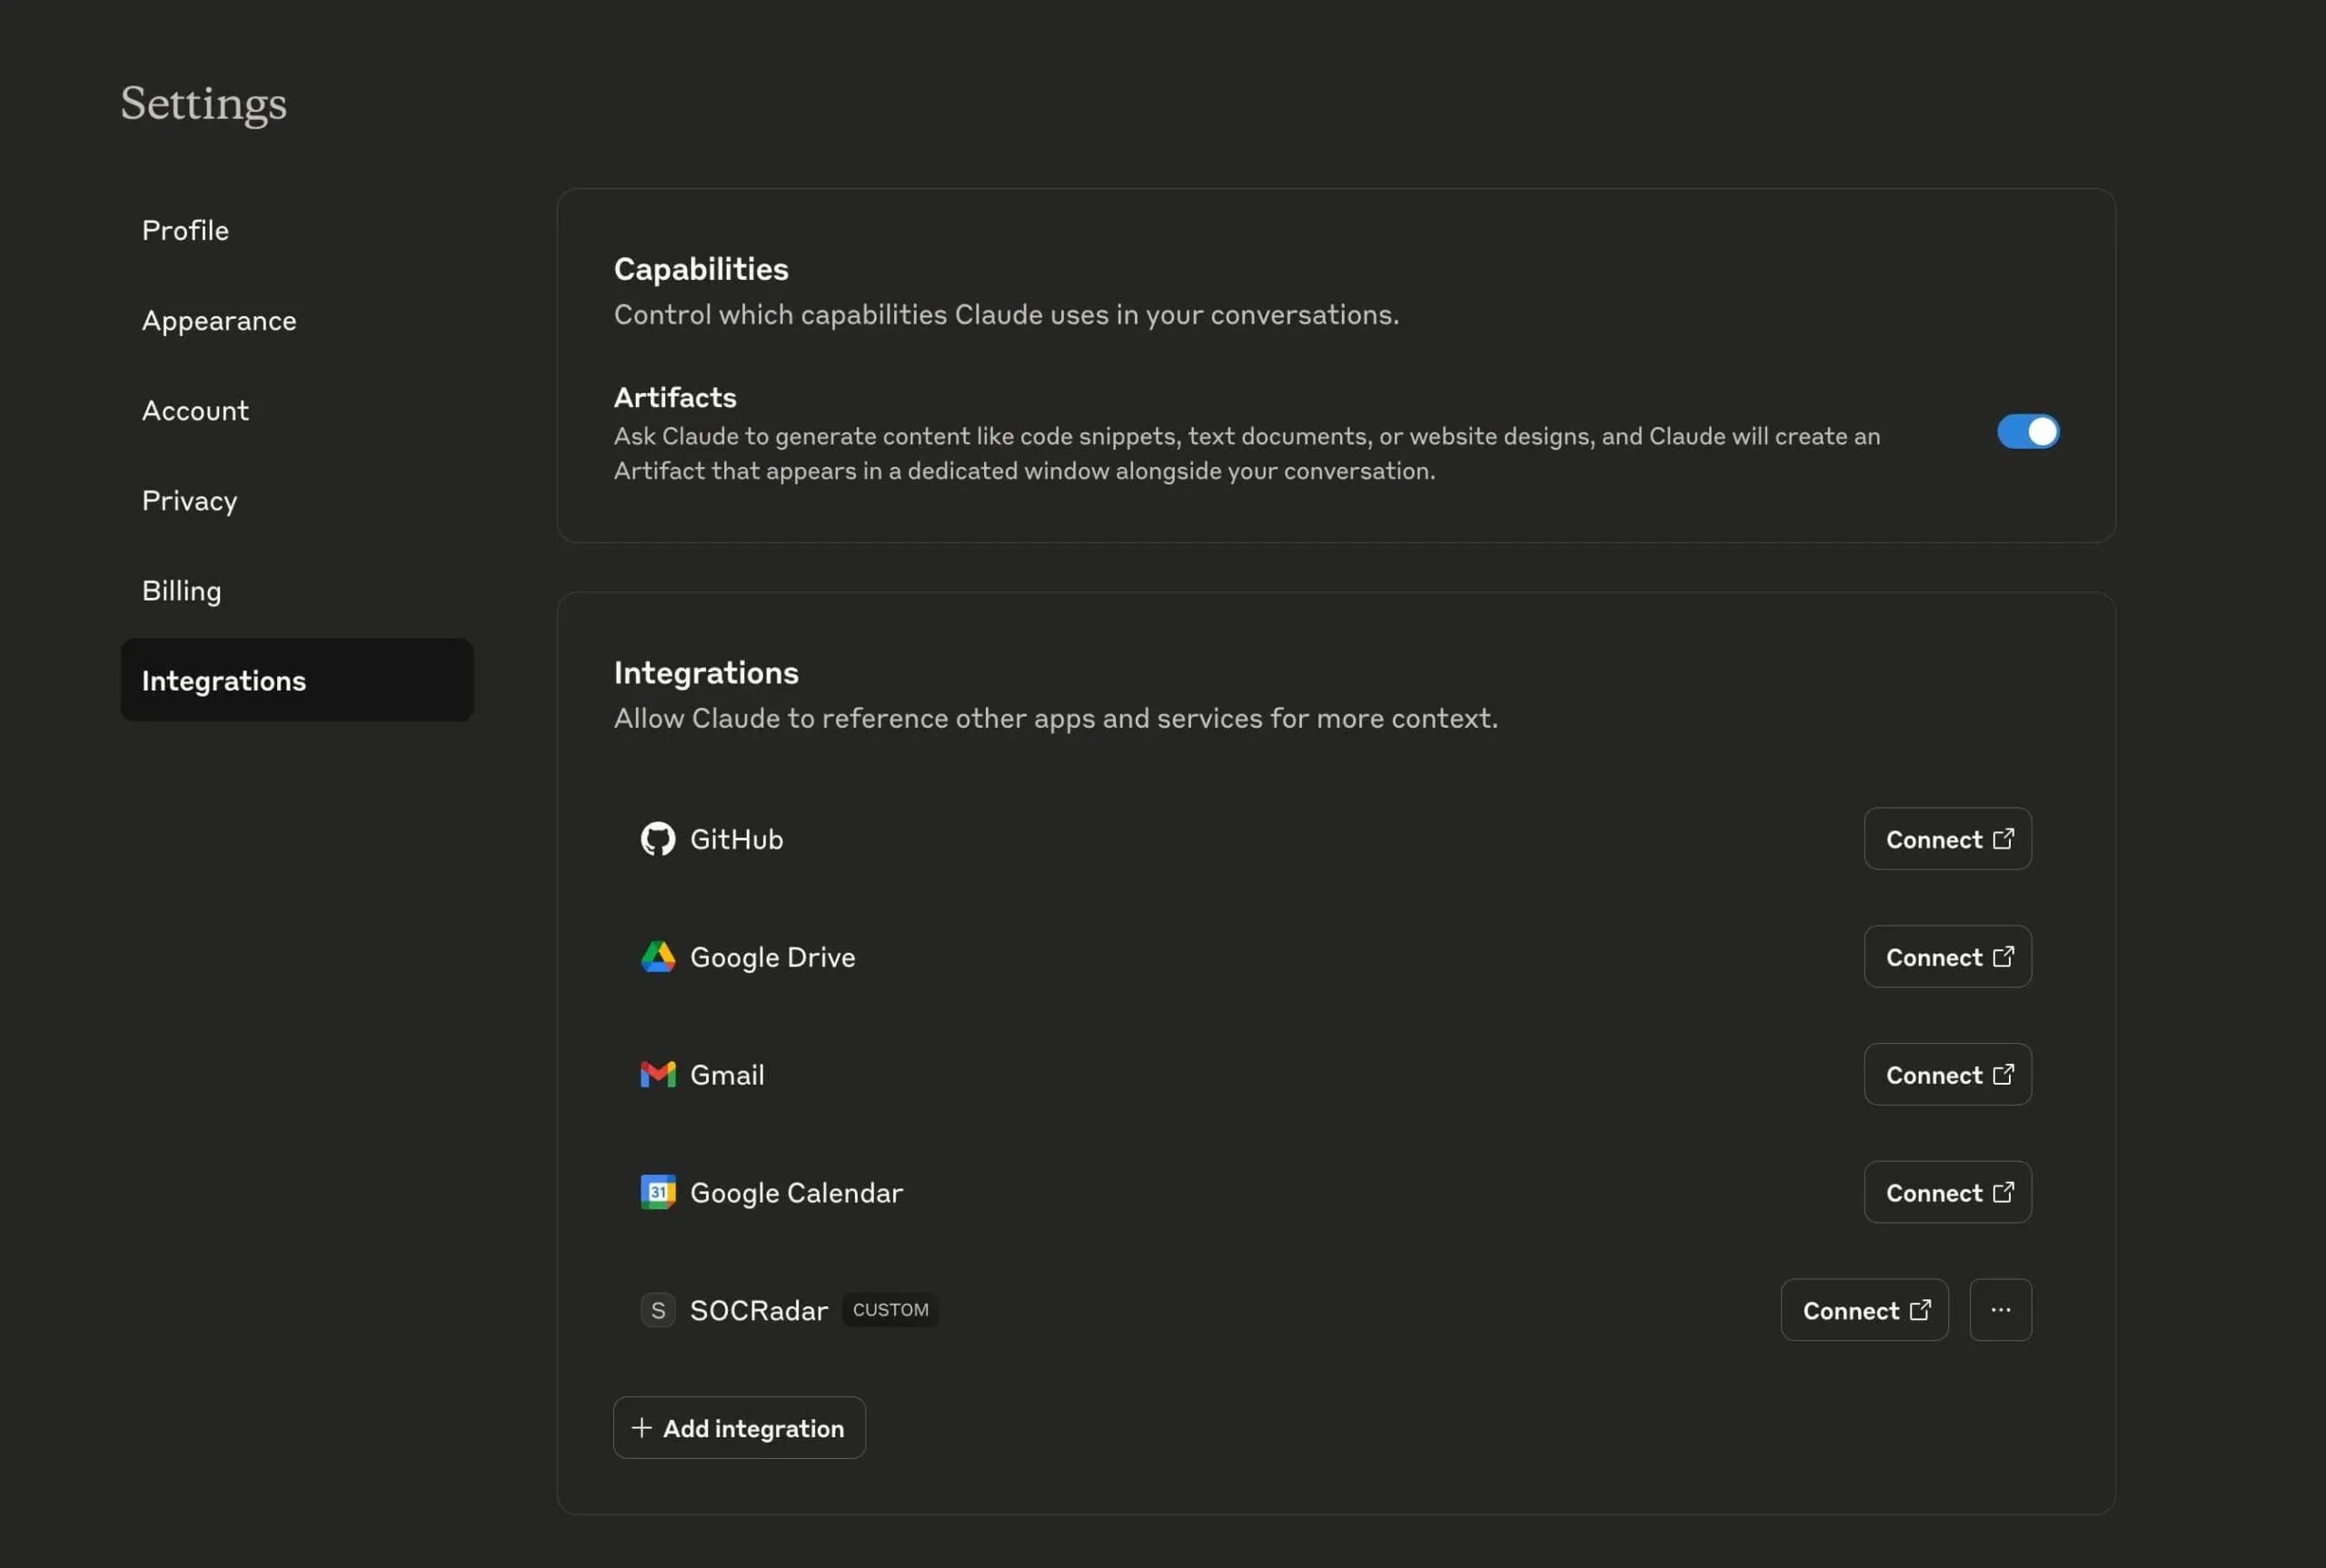
Integration settings panel showing the available services and the custom SOCRadar option.
In the dialog that opens, name the service (SOCRadar) and enter the MCP Server endpoint:
https://mcp.socradar.com
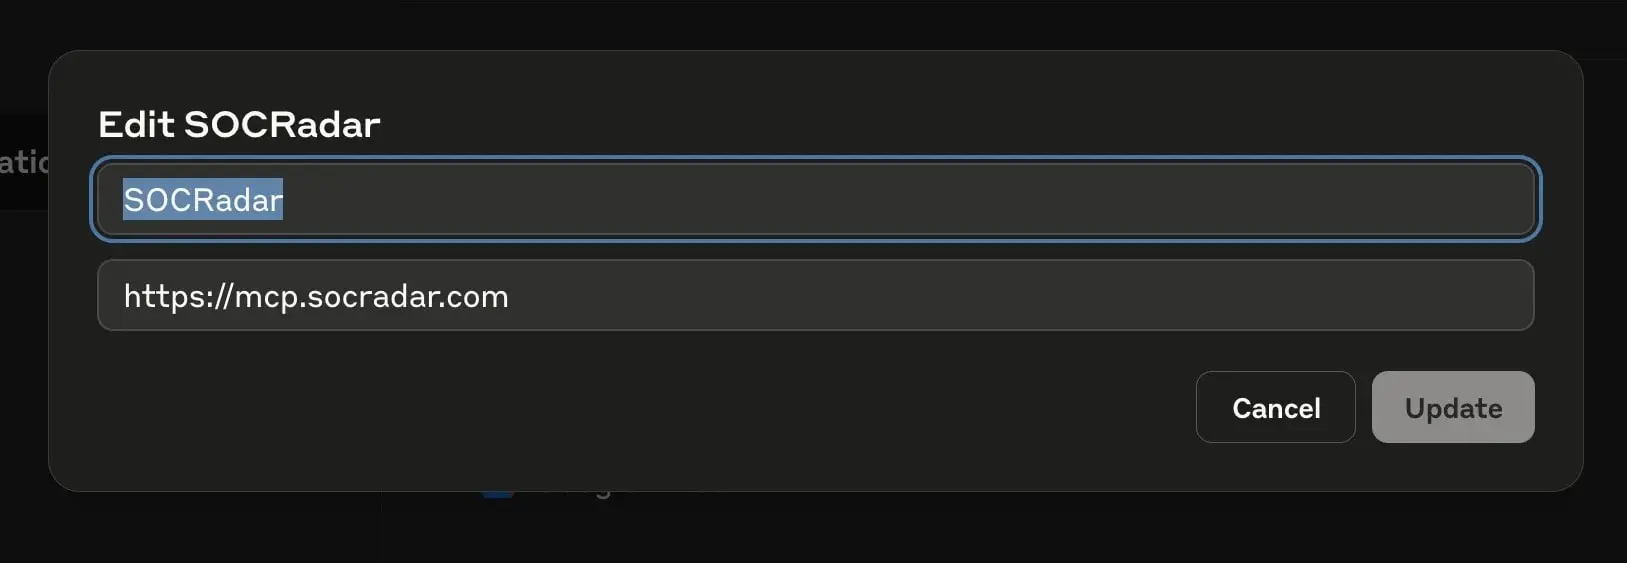
Editing the integration name and URL to add https://mcp.socradar.com.
Step 2: Authorize the Connection
Click Connect next to the SOCRadar entry.
You will be prompted to provide your SOCRadar API Key and Company ID.
You can also enter optional API keys for different enhanced modules like:
- CTI Threat Investigation
- Vulnerability Intelligence
- Identity Intelligence
- Ransomware Intelligence
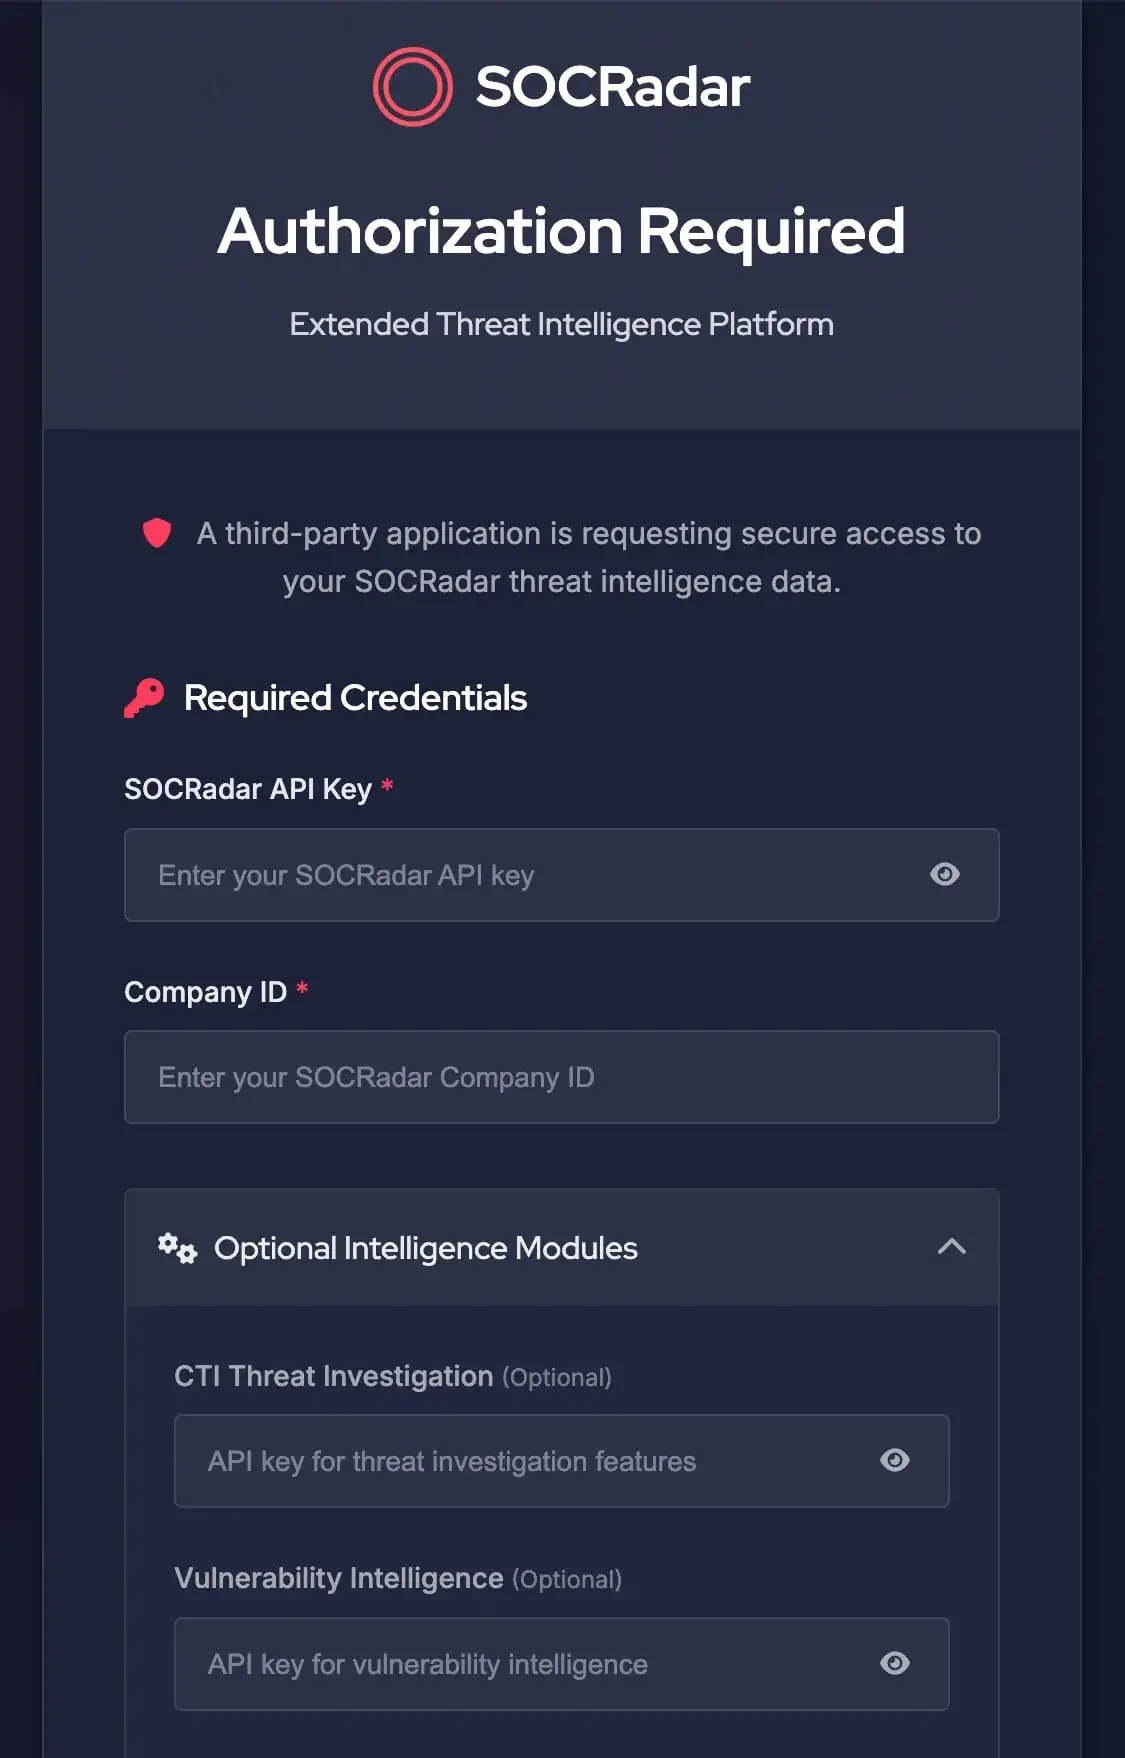
Authorization form requesting required credentials and optional module keys.
Step 3: Confirm the Integration Status
After entering your credentials, the integration will validate and show a Connected status under SOCRadar.
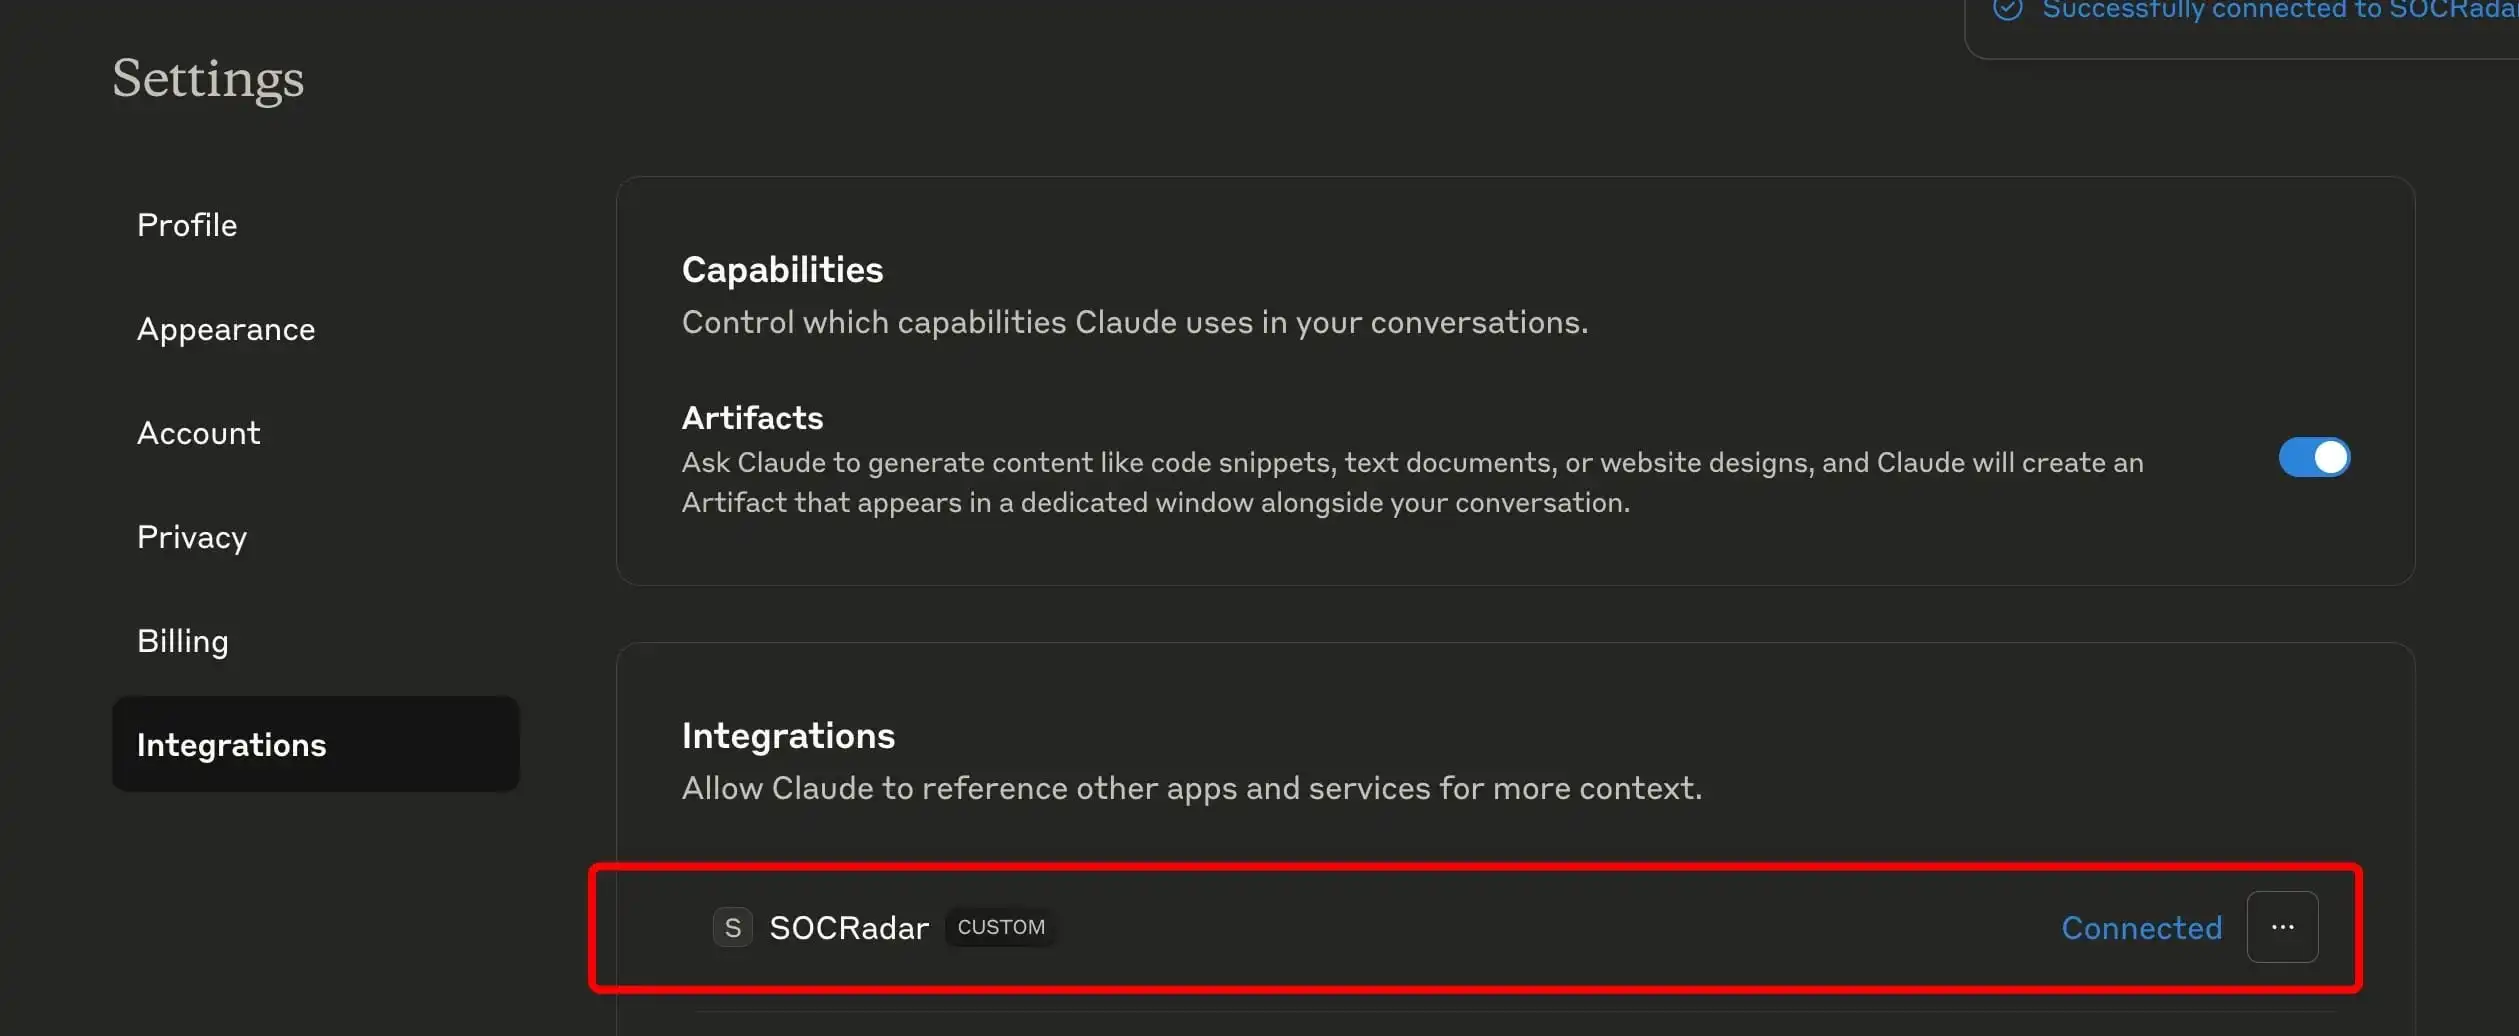
Successful connection confirmation displayed on the integrations list.
Step 4: Start Using SOCRadar Tools in the Chat Interface
Once connected, open the assistant’s chat interface. Click the “+” button and select “Add from SOCRadar.”
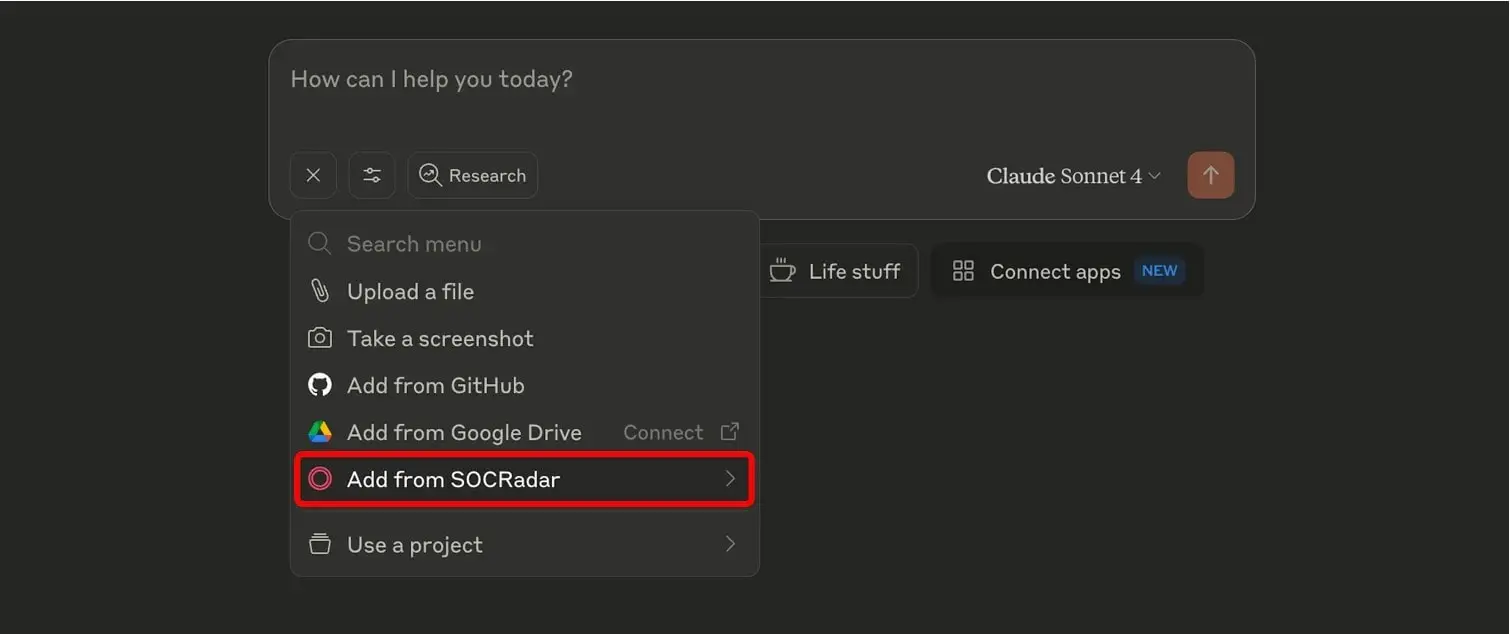
Chat interface showing “Add from SOCRadar” as an available option in the tool menu.
You’ll now see a library of ready-to-use prompts such as:
- ciso_industry_threats
- architect_vulnerability_report
- red_team_find_exploits
These templates fetch real-time threat intelligence from SOCRadar and can be used directly or invoked via natural language.
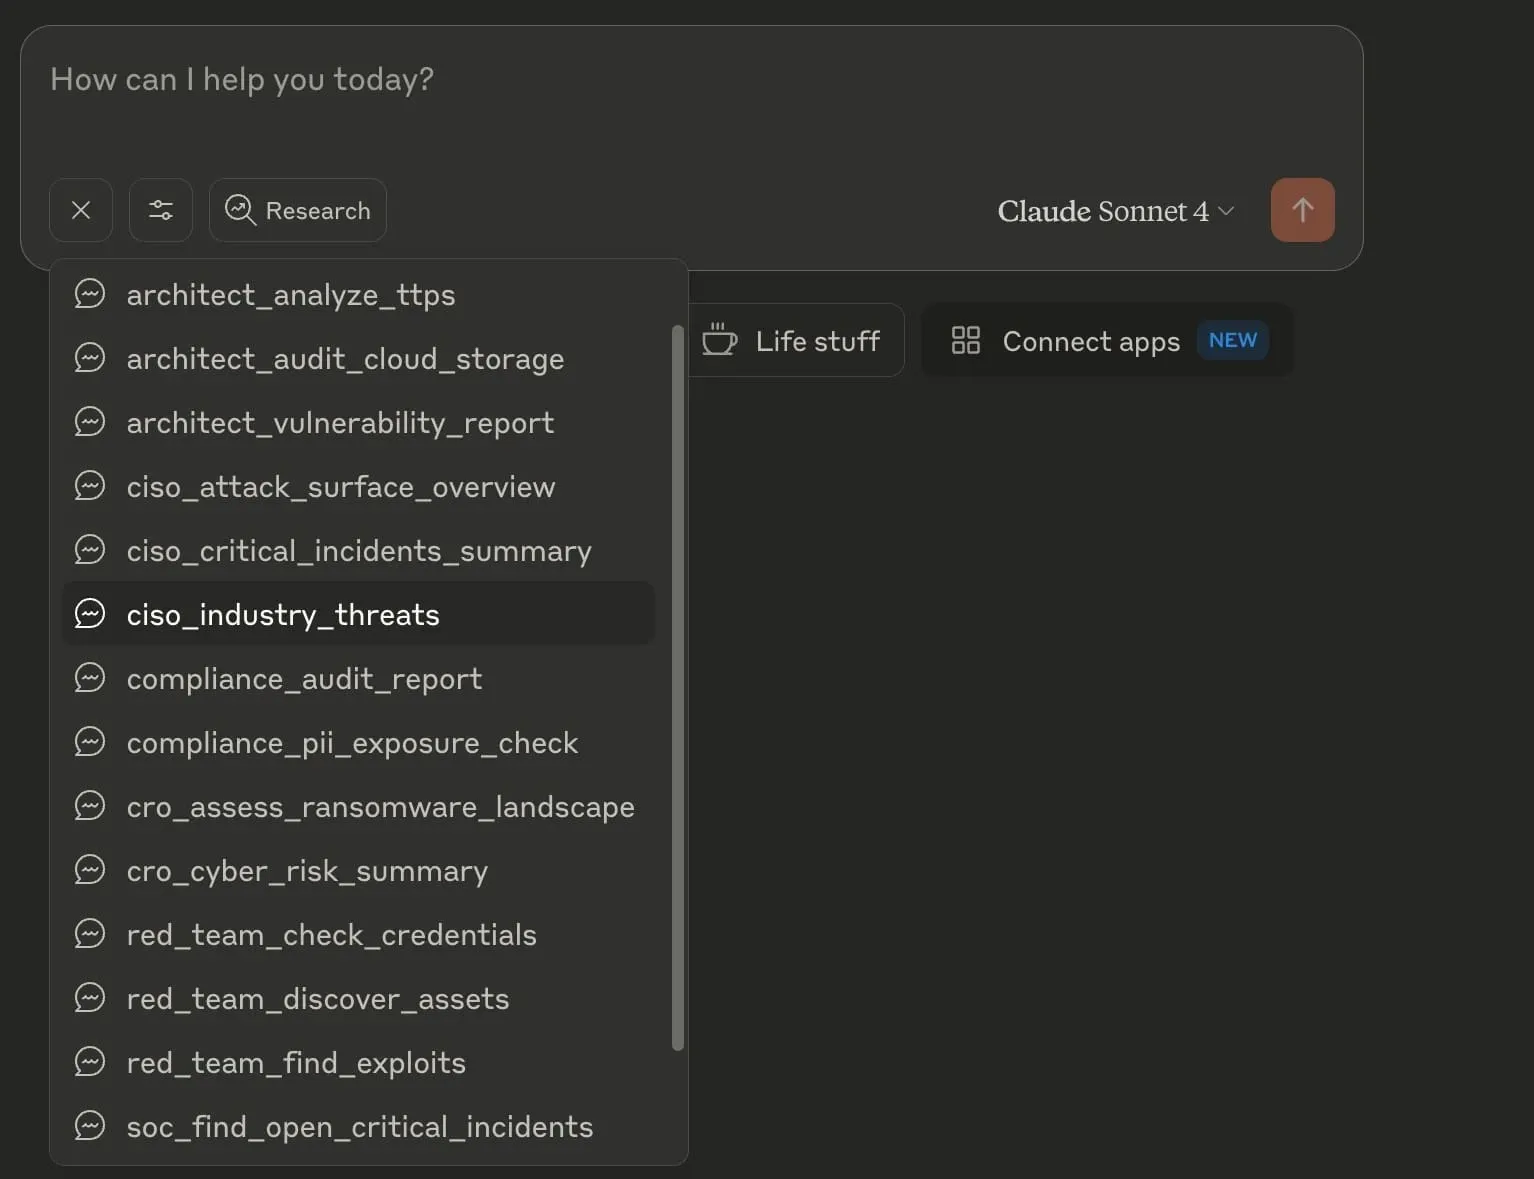
Prompt list of available SOCRadar templates, ready to launch in conversation.