


Jul 09, 2026

Table Of Content
Nmap Commands Guide: Cheat Sheet & Reference
1. What is Nmap and What Changed in Version 7.99?
2. Basic Syntax and Target Discovery
3. The Three Main Scan Types
4. OS Detection and Service Version Fingerprinting
5. Nmap Scripting Engine (NSE)
6. Timing and Performance
7. Output Formats
8. Nmap Commands Cheat Sheet
9. How to Install Nmap on Linux, Windows, and macOS
10. How to Disable DNS Resolution to Speed Up Scans
11. Advanced NSE Use Cases: Brute Force
12. Flood Testing with Nmap
13. Nmap Alternatives Worth Knowing
14. Frequently Asked Questions
Related Articles


Apr 17, 2026
9 Mins Read

Nmap Commands Guide: Cheat Sheet & Reference
Nmap (Network Mapper) is a free, OSINT tool used to discover devices and services on a network. Security professionals, system administrators, and ethical hackers use it daily to map networks, find open ports, detect operating systems, and run scripted checks against targets.
1. What is Nmap and What Changed in Version 7.99?
Nmap stands for Network Mapper. It is a tool used to check computers and networks.
In simple terms:
- It scans a device or a network
- It shows which devices are active
- It finds open ports on those devices
- It tells what services are running, like web or email
- It can also guess the operating system
Think of it like knocking on doors in a building to see which rooms are open and what is inside.
People use Nmap for:
- Network security checks
- Finding weak points
- Managing IT systems
It is widely used by security professionals, but it should only be used on systems you have permission to scan.
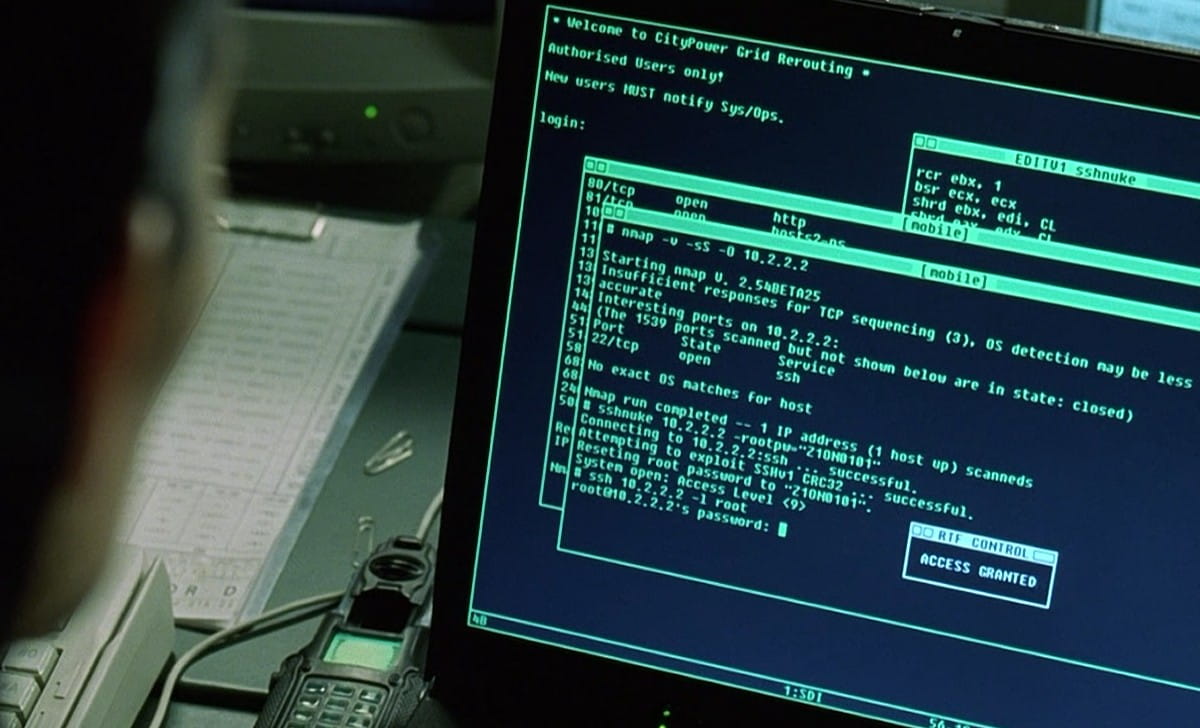
Movie scene featuring Nmap (Source)
Nmap 7.99 was released on March 26, 2026. This release focused on accuracy improvements, library updates, and compatibility fixes. Here is what actually changed:
- Updated IPv4 and IPv6 OS fingerprints and dozens of service detection fingerprints, improving detection accuracy
- Upgraded core libraries: OpenSSL 3.0.19, libpcap 1.10.6, libpcre2 10.47, liblinear 2.50, zlib 1.3.2
- Windows: Npcap upgraded from 1.83 to 1.87, resolving several crashes and stability issues
- Windows: Nmap now supports scanning through VPN virtual adapters, such as OpenVPN TAP adapters
- Fixed a performance regression in reverse DNS resolution introduced in version 7.98
- Zenmap (the graphical interface) is now distributed as a universal Python wheel package (.whl) instead of an RPM, making it installable on any system running Python 3
- NSE: http-internal-ip-disclosure script now supports IPv6 and HTTPS
- NSE: hostmap-crtsh now reports only true subdomains of a target, filtering out false positives
- macOS: Fixed a bug in libdnet that caused incorrect MAC addresses to be reported
2. Basic Syntax and Target Discovery
Every Nmap command follows this pattern:
nmap [options] [target]The target can be a single IP, a range, a subnet, or a hostname.
Scan a Single IP
nmap 192.168.1.1Scan an IP Range
nmap 192.168.1.1-50Scan an Entire Subnet
nmap 192.168.1.0/24Scan Multiple IPs at Once
nmap 192.168.1.1 192.168.1.5 10.0.0.1Scan from a List of Targets
nmap -iL targets.txtHost Discovery (Ping Sweep)
Check which hosts are live before scanning ports:
nmap -sn 192.168.1.0/24This sends probes to every address in the range and shows which ones respond. No port scanning occurs.
3. The Three Main Scan Types
TCP SYN Scan (default for root users)
nmap -sS 192.168.1.1Sends a SYN packet and waits for a response. If the port is open, the target replies with SYN-ACK. Nmap then sends RST to close the connection without completing the handshake. Faster than a full connect scan and less likely to be logged by basic systems. Requires root or administrator privileges.
TCP Connect Scan
nmap -sT 192.168.1.1Completes the full three-way TCP handshake. Does not require root privileges. Slower and more visible in logs than -sS.
UDP Scan
nmap -sU 192.168.1.1Checks for services running on UDP such as DNS (port 53), SNMP (port 161), and DHCP (port 67). Slower than TCP scans because UDP has no built-in acknowledgment, so Nmap must wait for timeouts on closed ports.
Combine UDP and TCP for broader coverage:
nmap -sS -sU 192.168.1.14. OS Detection and Service Version Fingerprinting
Detect Service Versions
nmap -sV 192.168.1.1Probes open ports to identify the service and version running. For example, port 22 might show as OpenSSH 9.6 rather than just showing as open.
OS Detection
nmap -O 192.168.1.1Analyzes responses and compares them against Nmap’s OS fingerprint database to guess the operating system. Nmap 7.99 expanded this database with newly submitted fingerprints.
Aggressive Mode
nmap -A 192.168.1.1Combines OS detection, version scanning, default script scanning, and traceroute. Produces the most detail but is slower and more visible.
| Mode | Flag | Speed | What It Returns | Visibility |
| Version only | -sV | Medium | Service and version | Low |
| OS only | -O | Medium | OS guess | Low |
| Aggressive | -A | Slow | OS, version, scripts, traceroute | High |
5. Nmap Scripting Engine (NSE)
NSE lets you run Lua-based scripts against scan targets. Over 600 scripts are available covering vulnerability detection, service enumeration, authentication testing, and more.
Run Default Scripts
nmap --script=default 192.168.1.1Run Vulnerability Scripts
nmap --script=vuln 192.168.1.1Check for Exposed Internal IPs via HTTP
nmap --script=http-internal-ip-disclosure 192.168.1.1 -p 80,443Updated in 7.99 to support IPv6 and HTTPS.
Subdomain Enumeration via Certificate Transparency
nmap --script=hostmap-crtsh 192.168.1.1Updated in 7.99 to return only true subdomains of the target.
Check SSL Certificate
nmap --script=ssl-cert 192.168.1.1 -p 443CVE Lookup Against Detected Services
nmap --script=vulners 192.168.1.1 -sVCross-references detected software versions against a CVE database. Requires -sV to identify versions first.
6. Timing and Performance
Nmap has six timing templates, from T0 (slowest) to T5 (fastest):
nmap -T4 192.168.1.1 # Fast, good for internal scansnmap -T1 192.168.1.1 # Slow, less likely to trigger rate limitingLimiting ports speeds up scans significantly:
nmap --top-ports 100 192.168.1.0/247. Output Formats
nmap -oN output.txt 192.168.1.1 # Plain textnmap -oX output.xml 192.168.1.1 # XMLnmap -oG output.gnmap 192.168.1.1 # Grepablenmap -oA scan_results 192.168.1.1 # All three at once8. Nmap Commands Cheat Sheet
| Command | What It Does |
| nmap 192.168.1.1 | Scan a single IP |
| nmap 192.168.1.1-20 | Scan an IP range |
| nmap 192.168.1.0/24 | Scan a subnet |
| nmap scanme.nmap.org | Scan a hostname |
| nmap -iL targets.txt | Scan from a file |
| nmap -sS 192.168.1.1 | TCP SYN scan (requires root) |
| nmap -sT 192.168.1.1 | TCP Connect scan |
| nmap -sU 192.168.1.1 | UDP scan |
| nmap -sn 192.168.1.0/24 | Ping sweep, no port scan |
| nmap -p 80,443 192.168.1.1 | Scan specific ports |
| nmap -p- 192.168.1.1 | Scan all 65535 ports |
| nmap –top-ports 100 192.168.1.1 | Scan top 100 ports |
| nmap -sV 192.168.1.1 | Service version detection |
| nmap -O 192.168.1.1 | OS detection |
| nmap -A 192.168.1.1 | Aggressive scan |
| nmap -T4 192.168.1.1 | Faster timing template |
| nmap –script=default 192.168.1.1 | Run default NSE scripts |
| nmap –script=vuln 192.168.1.1 | Run vulnerability scripts |
| nmap –script=http-enum 192.168.1.1 | Enumerate web directories |
| nmap –script=ssl-cert 192.168.1.1 | Check SSL certificate |
| nmap -oN output.txt 192.168.1.1 | Save plain text output |
| nmap -oX output.xml 192.168.1.1 | Save XML output |
| nmap -oA scan_results 192.168.1.1 | Save all output formats |
| nmap -6 ::1 | IPv6 scan |
| nmap -v 192.168.1.1 | Verbose output |
9. How to Install Nmap on Linux, Windows, and macOS
Before running any scan, you need Nmap installed. Here is how to get it on each major operating system.
Linux
Most Linux distributions either include Nmap by default or let you install it with one command.
On Ubuntu or Debian:
sudo apt-get install nmapOn CentOS or Fedora:
sudo dnf install nmapWindows
Download the latest installer from the official Nmap website at nmap.org/download.html. Run the installer, and it handles the setup automatically, including Npcap, which Nmap needs to send and receive packets on Windows. As of Nmap 7.99, Npcap was upgraded to version 1.87, which fixes several crashes from earlier builds.
macOS
Download the .dmg package from the Nmap download page and run the .mpkg file inside it. The installer takes care of everything in a few seconds.
After installation, open a terminal and type nmap to confirm it is working.
10. How to Disable DNS Resolution to Speed Up Scans
By default, Nmap tries to resolve the hostname for every IP it scans. This lookup adds time, especially on large networks. If you do not need hostnames in your output, turn off DNS resolution with the -n flag:
nmap -n -p 80 8.8.8.8Without this flag, Nmap would pause to resolve 8.8.8.8 to a hostname before moving on. With -n, it skips that step entirely and returns results faster. This is especially useful when scanning a /24 subnet where you just want raw port data quickly.
11. Advanced NSE Use Cases: Brute Force
The Nmap Scripting Engine goes well beyond basic vulnerability checks. Here are three practical use cases that show its range.
WordPress Brute Force Testing
If you manage a WordPress site, you can test whether weak credentials are a risk:
nmap -sV --script http-wordpress-brute --script-args 'userdb=users.txt,passdb=passwords.txt,http-wordpress-brute.threads=3,brute.firstonly=true' 192.168.1.105This attempts to log in using a list of usernames and passwords. Stop at the first working pair with brute.firstonly=true.
MS-SQL Brute Force
nmap -p 1433 --script ms-sql-brute --script-args userdb=users.txt,passdb=pass.txt 192.168.1.105FTP Brute Force
nmap --script ftp-brute -p 21 192.168.1.105Only run these tests on systems you own or have written permission to test.
To run a Google Safe Browsing check against a suspected domain:
nmap -p 80 --script http-google-malware suspecteddomain.xyzThese scripts check running services against known malware patterns and external threat databases.
12. Flood Testing with Nmap
Once you identify a host that may be vulnerable to a denial of service condition, Nmap lets you verify that finding in a controlled lab environment. The Slowloris script is a well-known example:
nmap 192.168.1.105 -max-parallelism 800 -Pn --script http-slowloris --script-args http-slowloris.runforever=trueThis keeps sending partial HTTP requests to exhaust server connections. Only use this on test environments you control. Running flood scripts against live production systems or third-party hosts is illegal and harmful.
13. Nmap Alternatives Worth Knowing
Nmap is the most widely used network scanner, but a few other tools are worth knowing about when specific needs come up.
Masscan is built for raw speed. It can scan the entire public IPv4 internet in under an hour on fast hardware. The trade-off is that it offers far fewer features than Nmap and produces less detailed output.
RustScan acts as a fast pre-scanner. It finds open ports quickly and then hands them off to Nmap for deeper analysis. The two tools are often used together in penetration testing workflows.
Zenmap is the official graphical interface for Nmap. It lets you build and run scans through a point-and-click interface rather than a terminal. As of Nmap 7.99, Zenmap is distributed as a universal Python wheel package, making it easier to install on any system running Python 3.
For most users, including advanced ones, Nmap alone covers the full range of scanning needs. The alternatives fill narrow gaps around speed or usability, but none match Nmap’s combination of accuracy, scripting support, and active development.
14. Frequently Asked Questions
Is Nmap legal to use?
Nmap is legal on networks you own or have written permission to test. Scanning without authorization is illegal in most countries.
What is the difference between -sS and -sT?
-sS sends a SYN packet without completing the handshake. It is faster and requires root. -sT completes the full connection, works without root, but is slower and more visible in logs.
What is the fastest way to scan a large network?
Use a ping sweep first to identify live hosts, then scan only those:
nmap -sn 192.168.1.0/24 -oG alive.txtnmap -T4 --top-ports 100 -iL alive.txtCan Nmap scan IPv6 addresses?
Yes, use the -6 flag:
nmap -6 2001:db8::1How do I save results for use in other tools?
Use -oX for XML output, which can be parsed by security tools and scripts:
nmap -oX output.xml 192.168.1.1Or use -oA to save all three formats at once.